AWS Cloud9 setup
AWS Cloud9: Cloud9 is a cloud-based integrated development environment (IDE) that you can use to write, run, and debug your code with just a browser. It includes a code editor, debugger, and terminal. In this workshop, you use AWS Cloud9 to deploy a backend application and a frontend application.
Cloud9 creates an EC2 instance and connects the Cloud9 IDE to this newly created instance. Cloud9 also initializes itself with managed IAM credentials that we will use to interract with AWS services.
Create Cloud9 environment
-
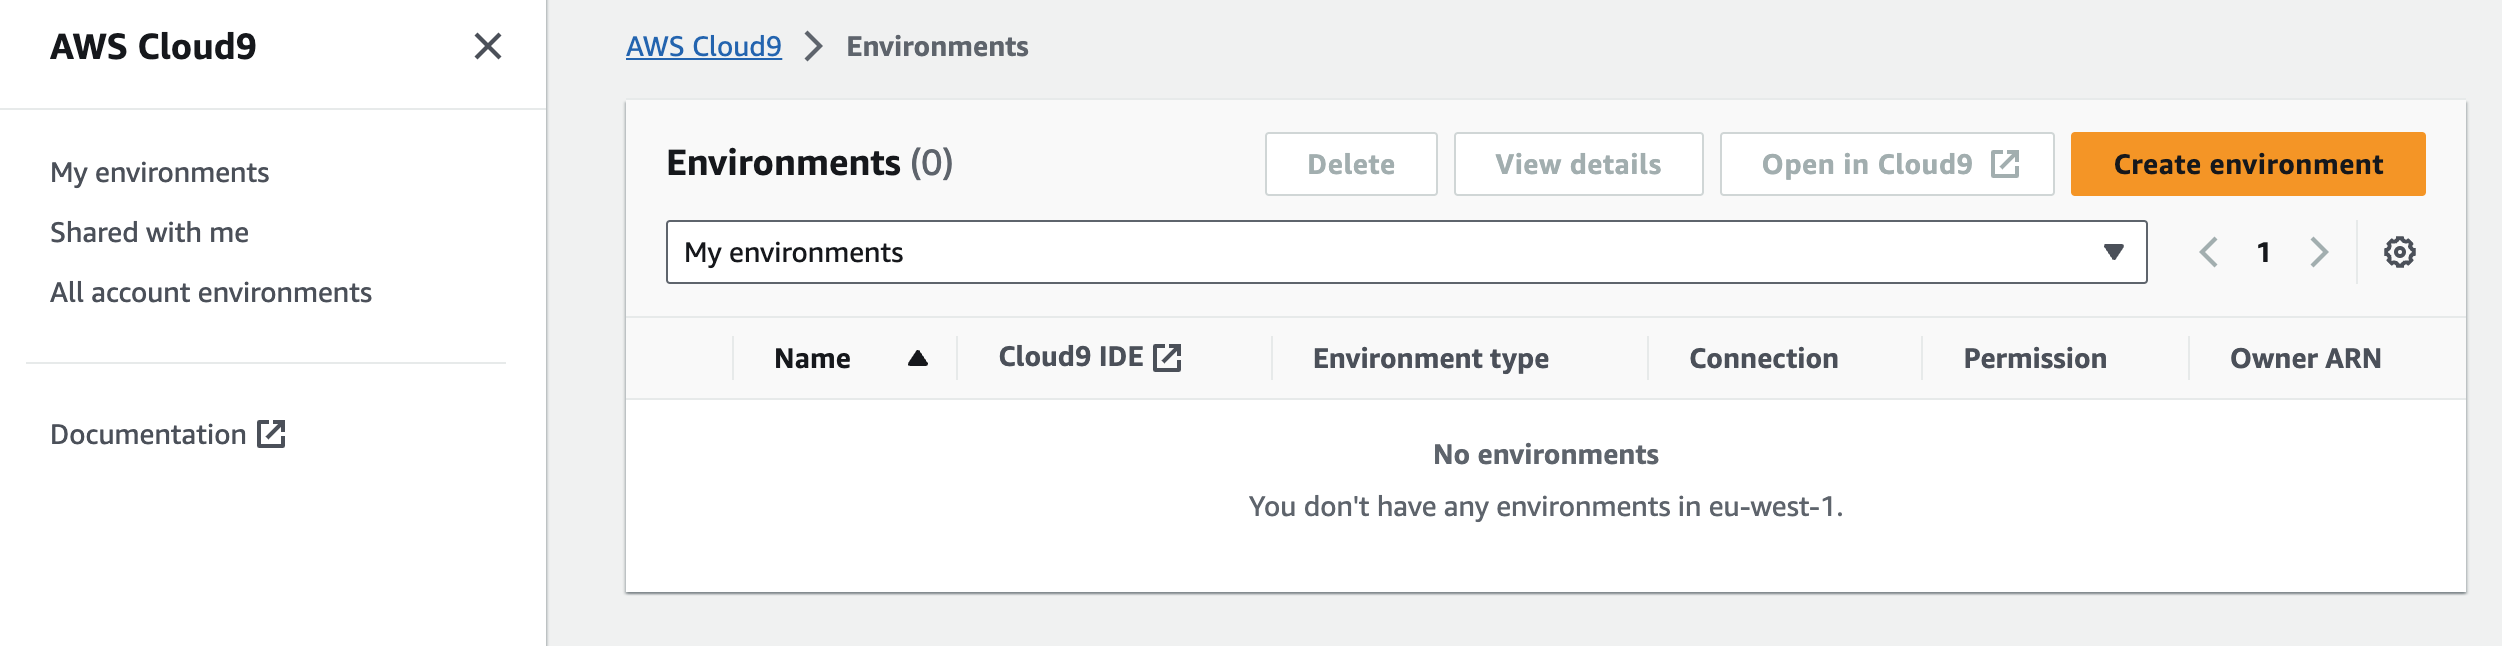
Open the Cloud9 service. Choose Create environment.
-
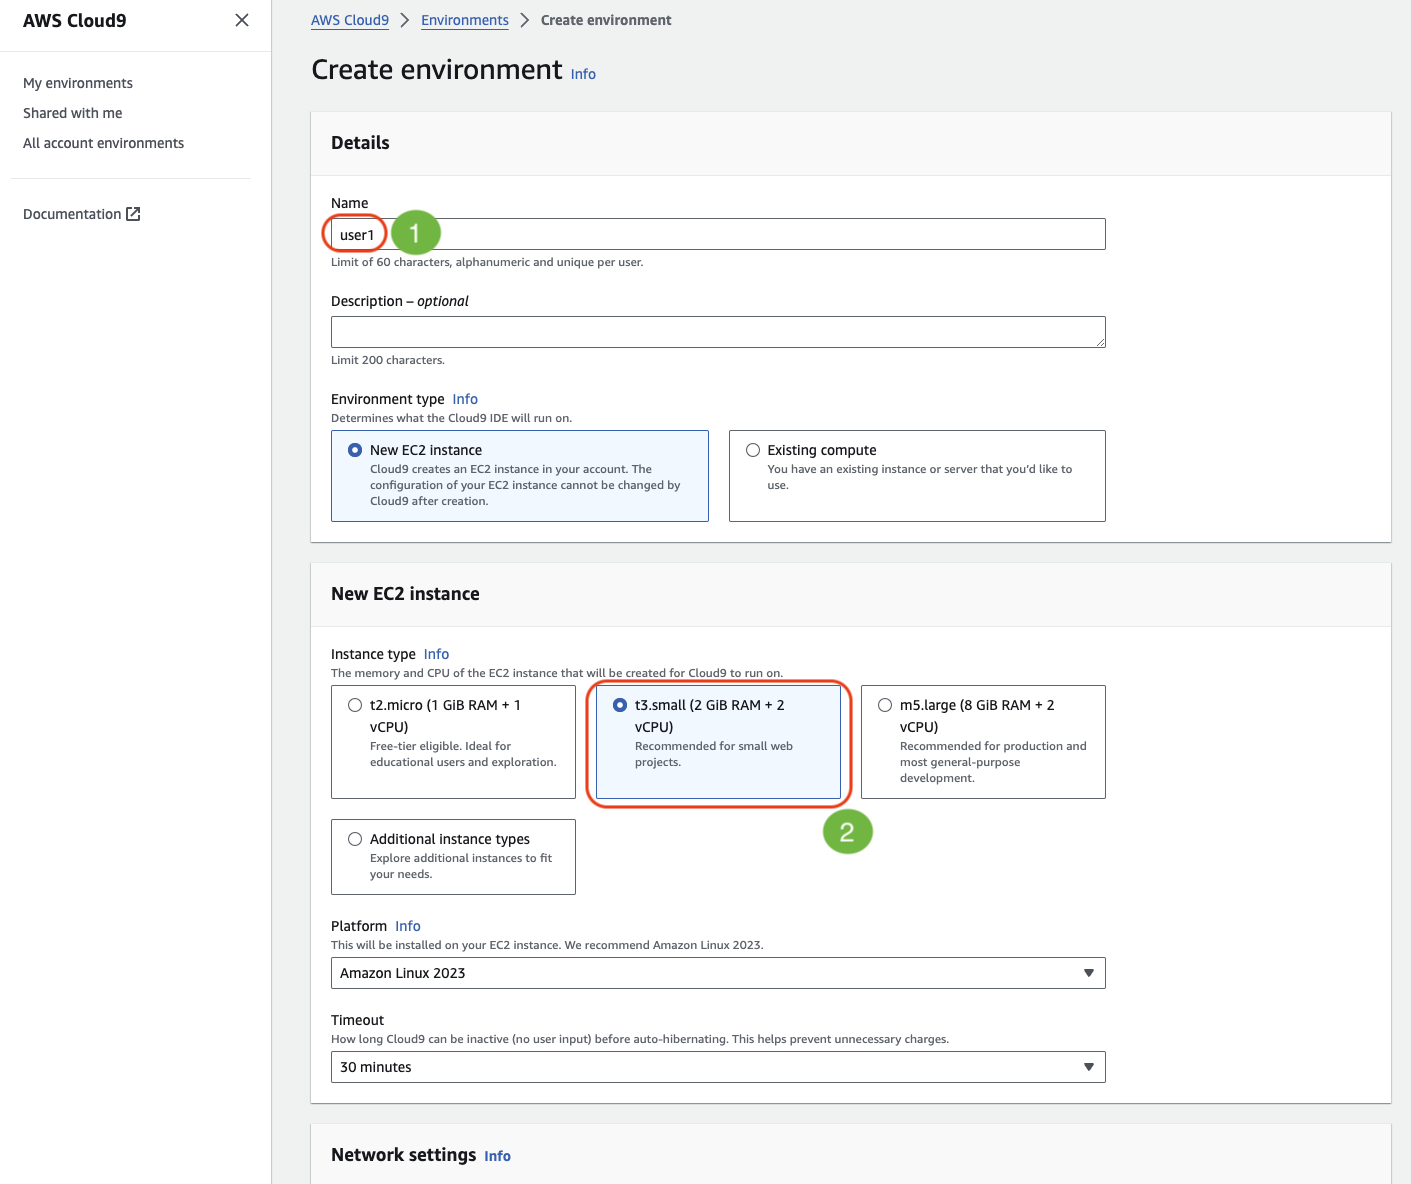
Enter Name. Use the username you have been provided. Choose t3.small instance type.
-
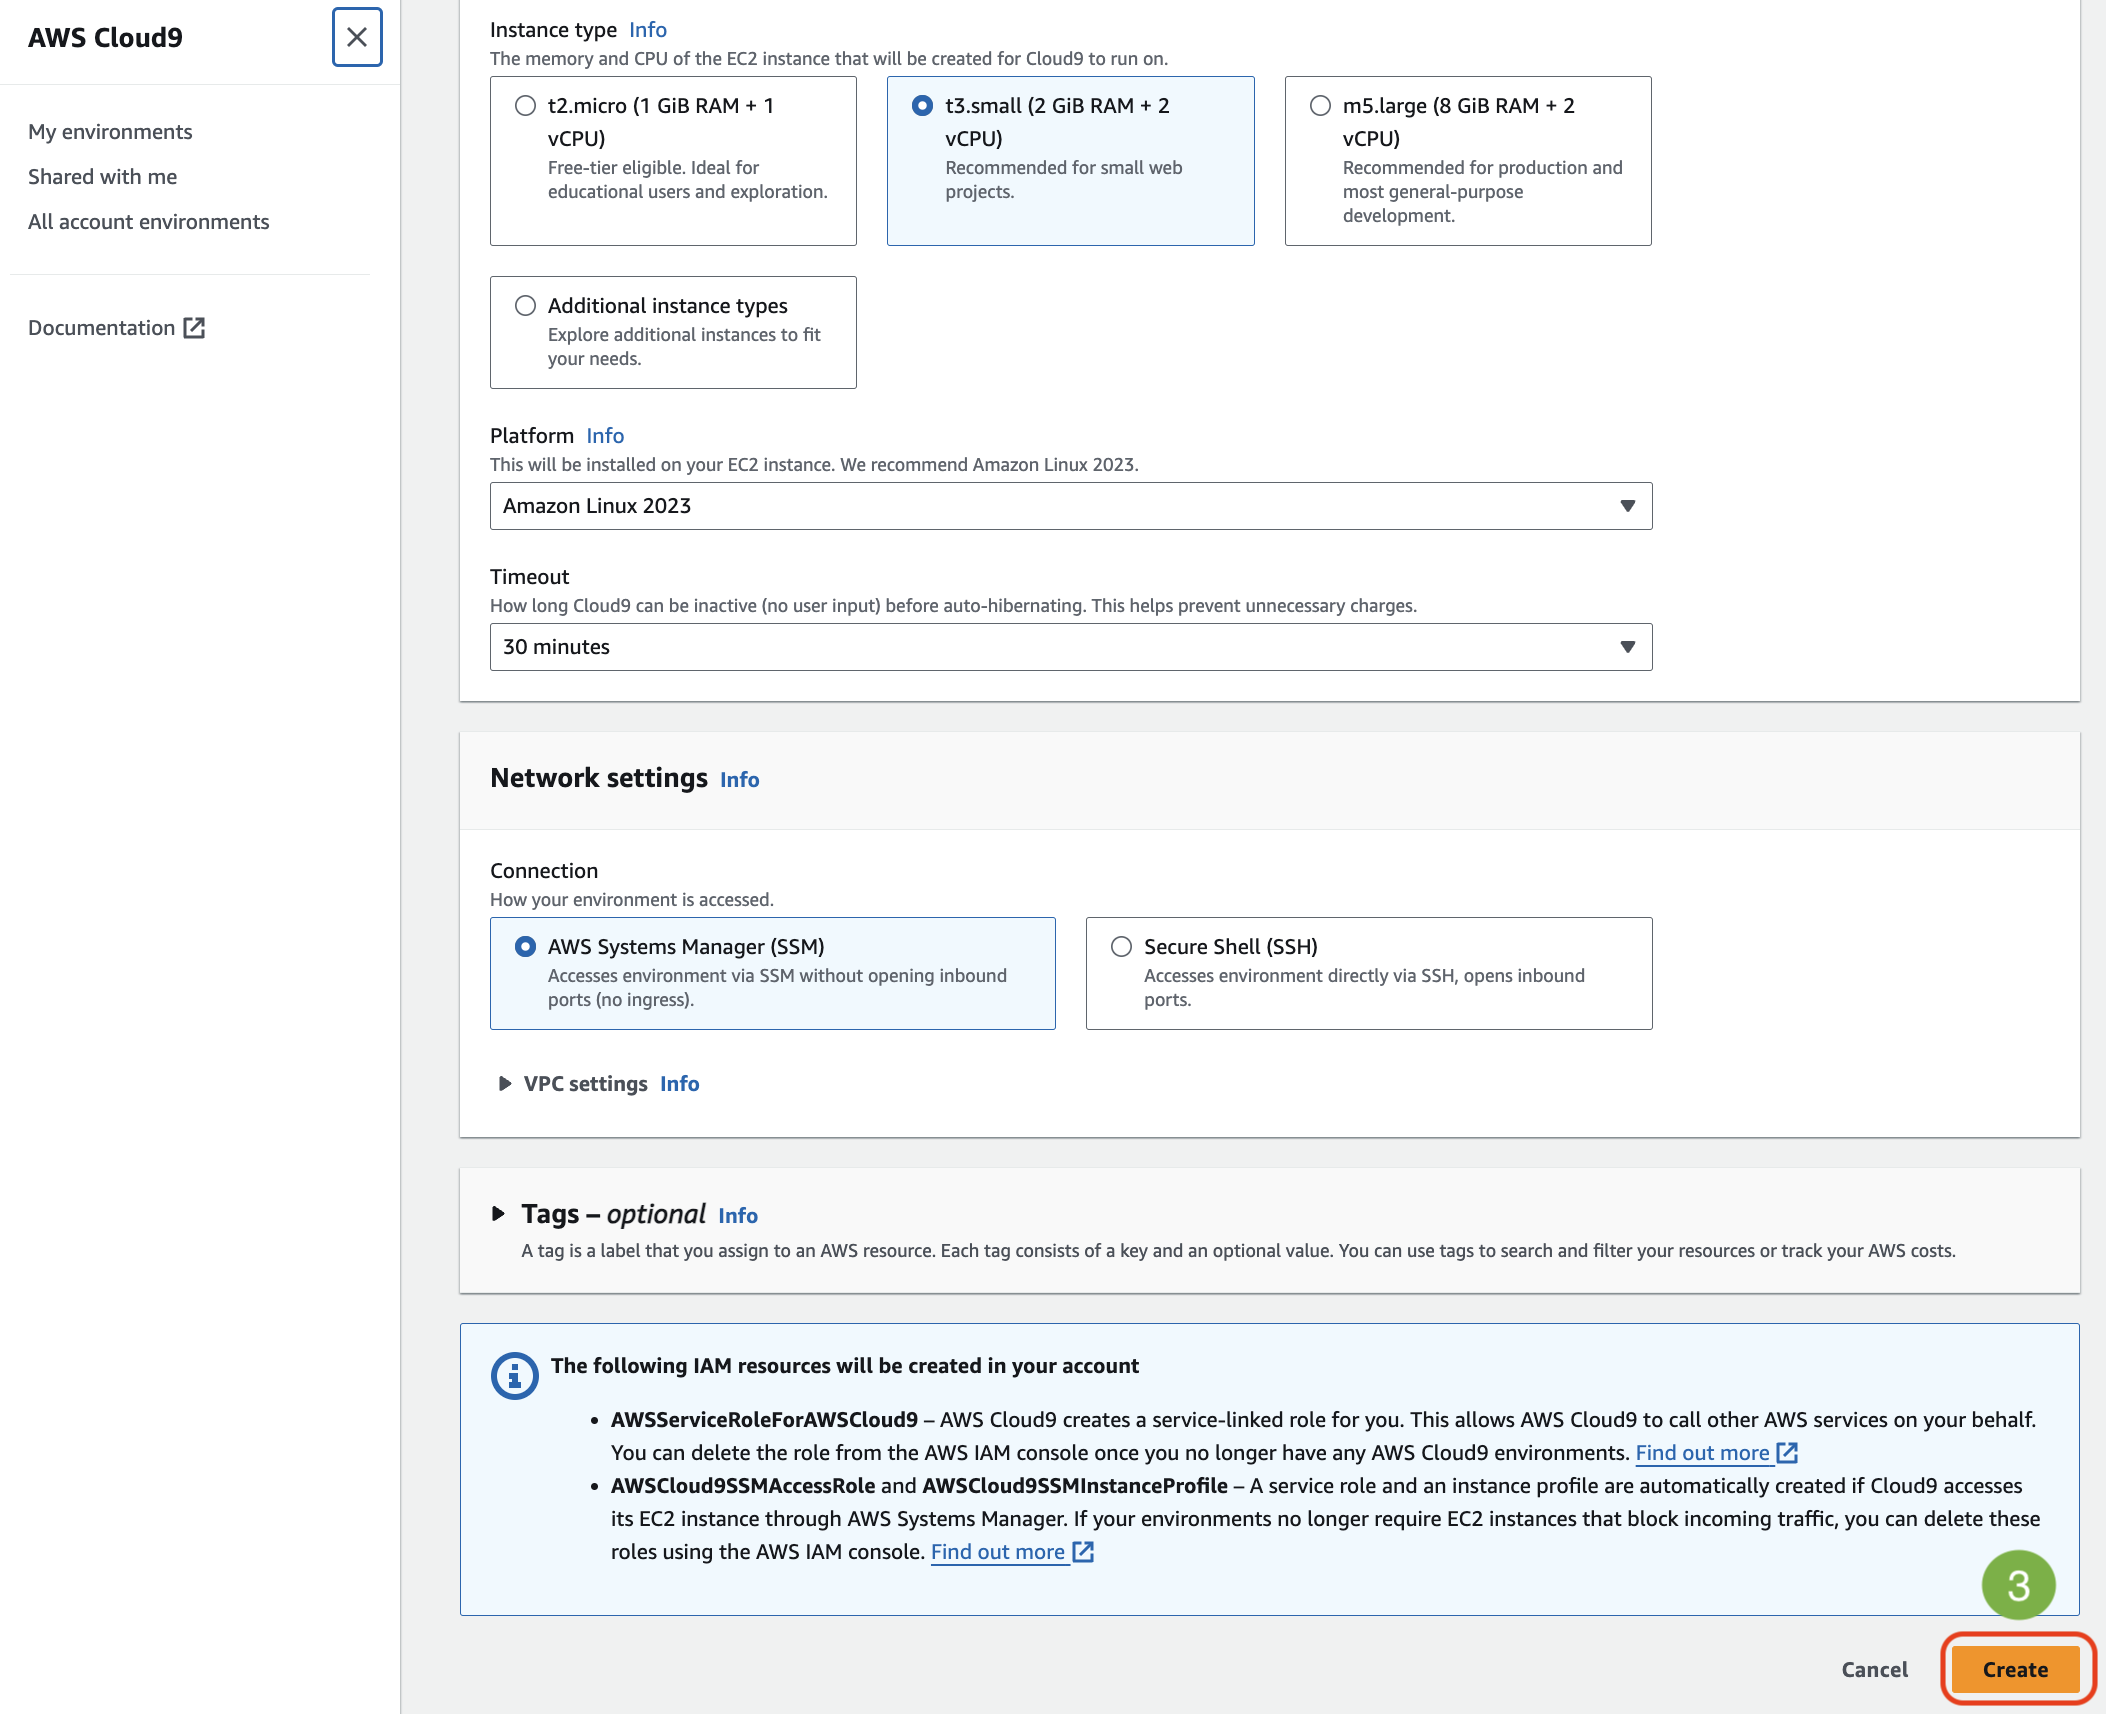
Scroll down and click Create.
-
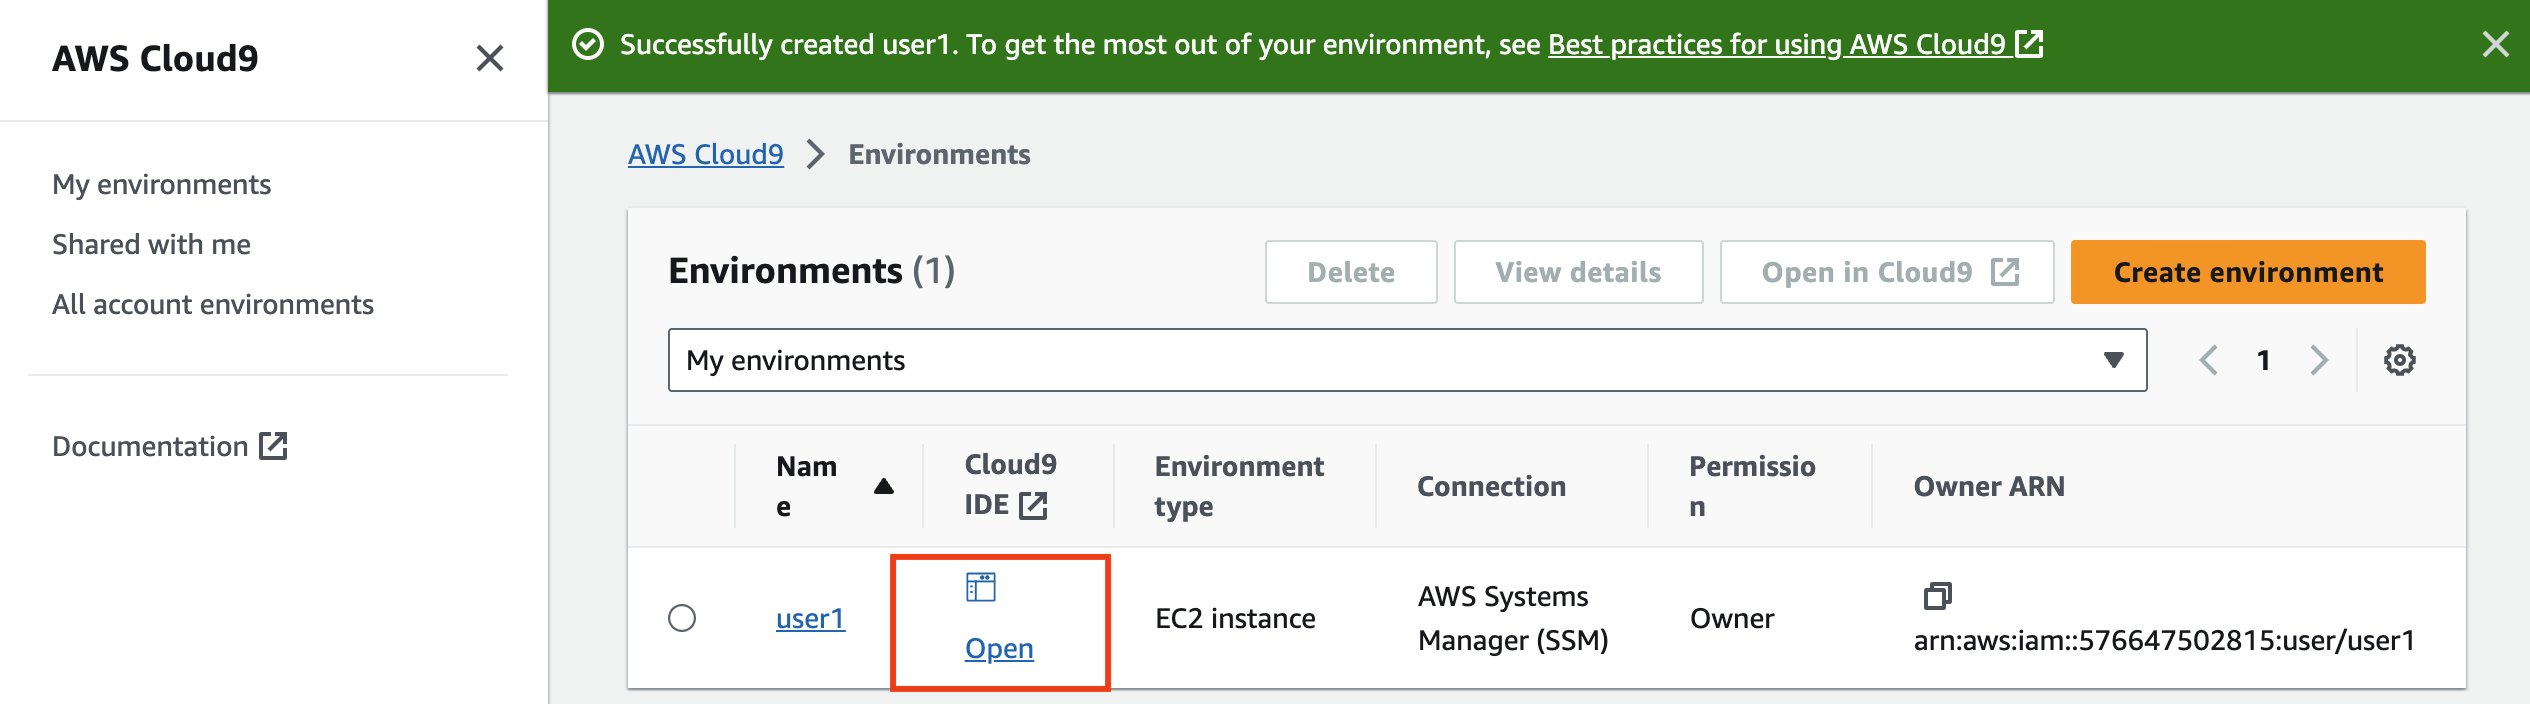
Open Cloud9 IDE.
-
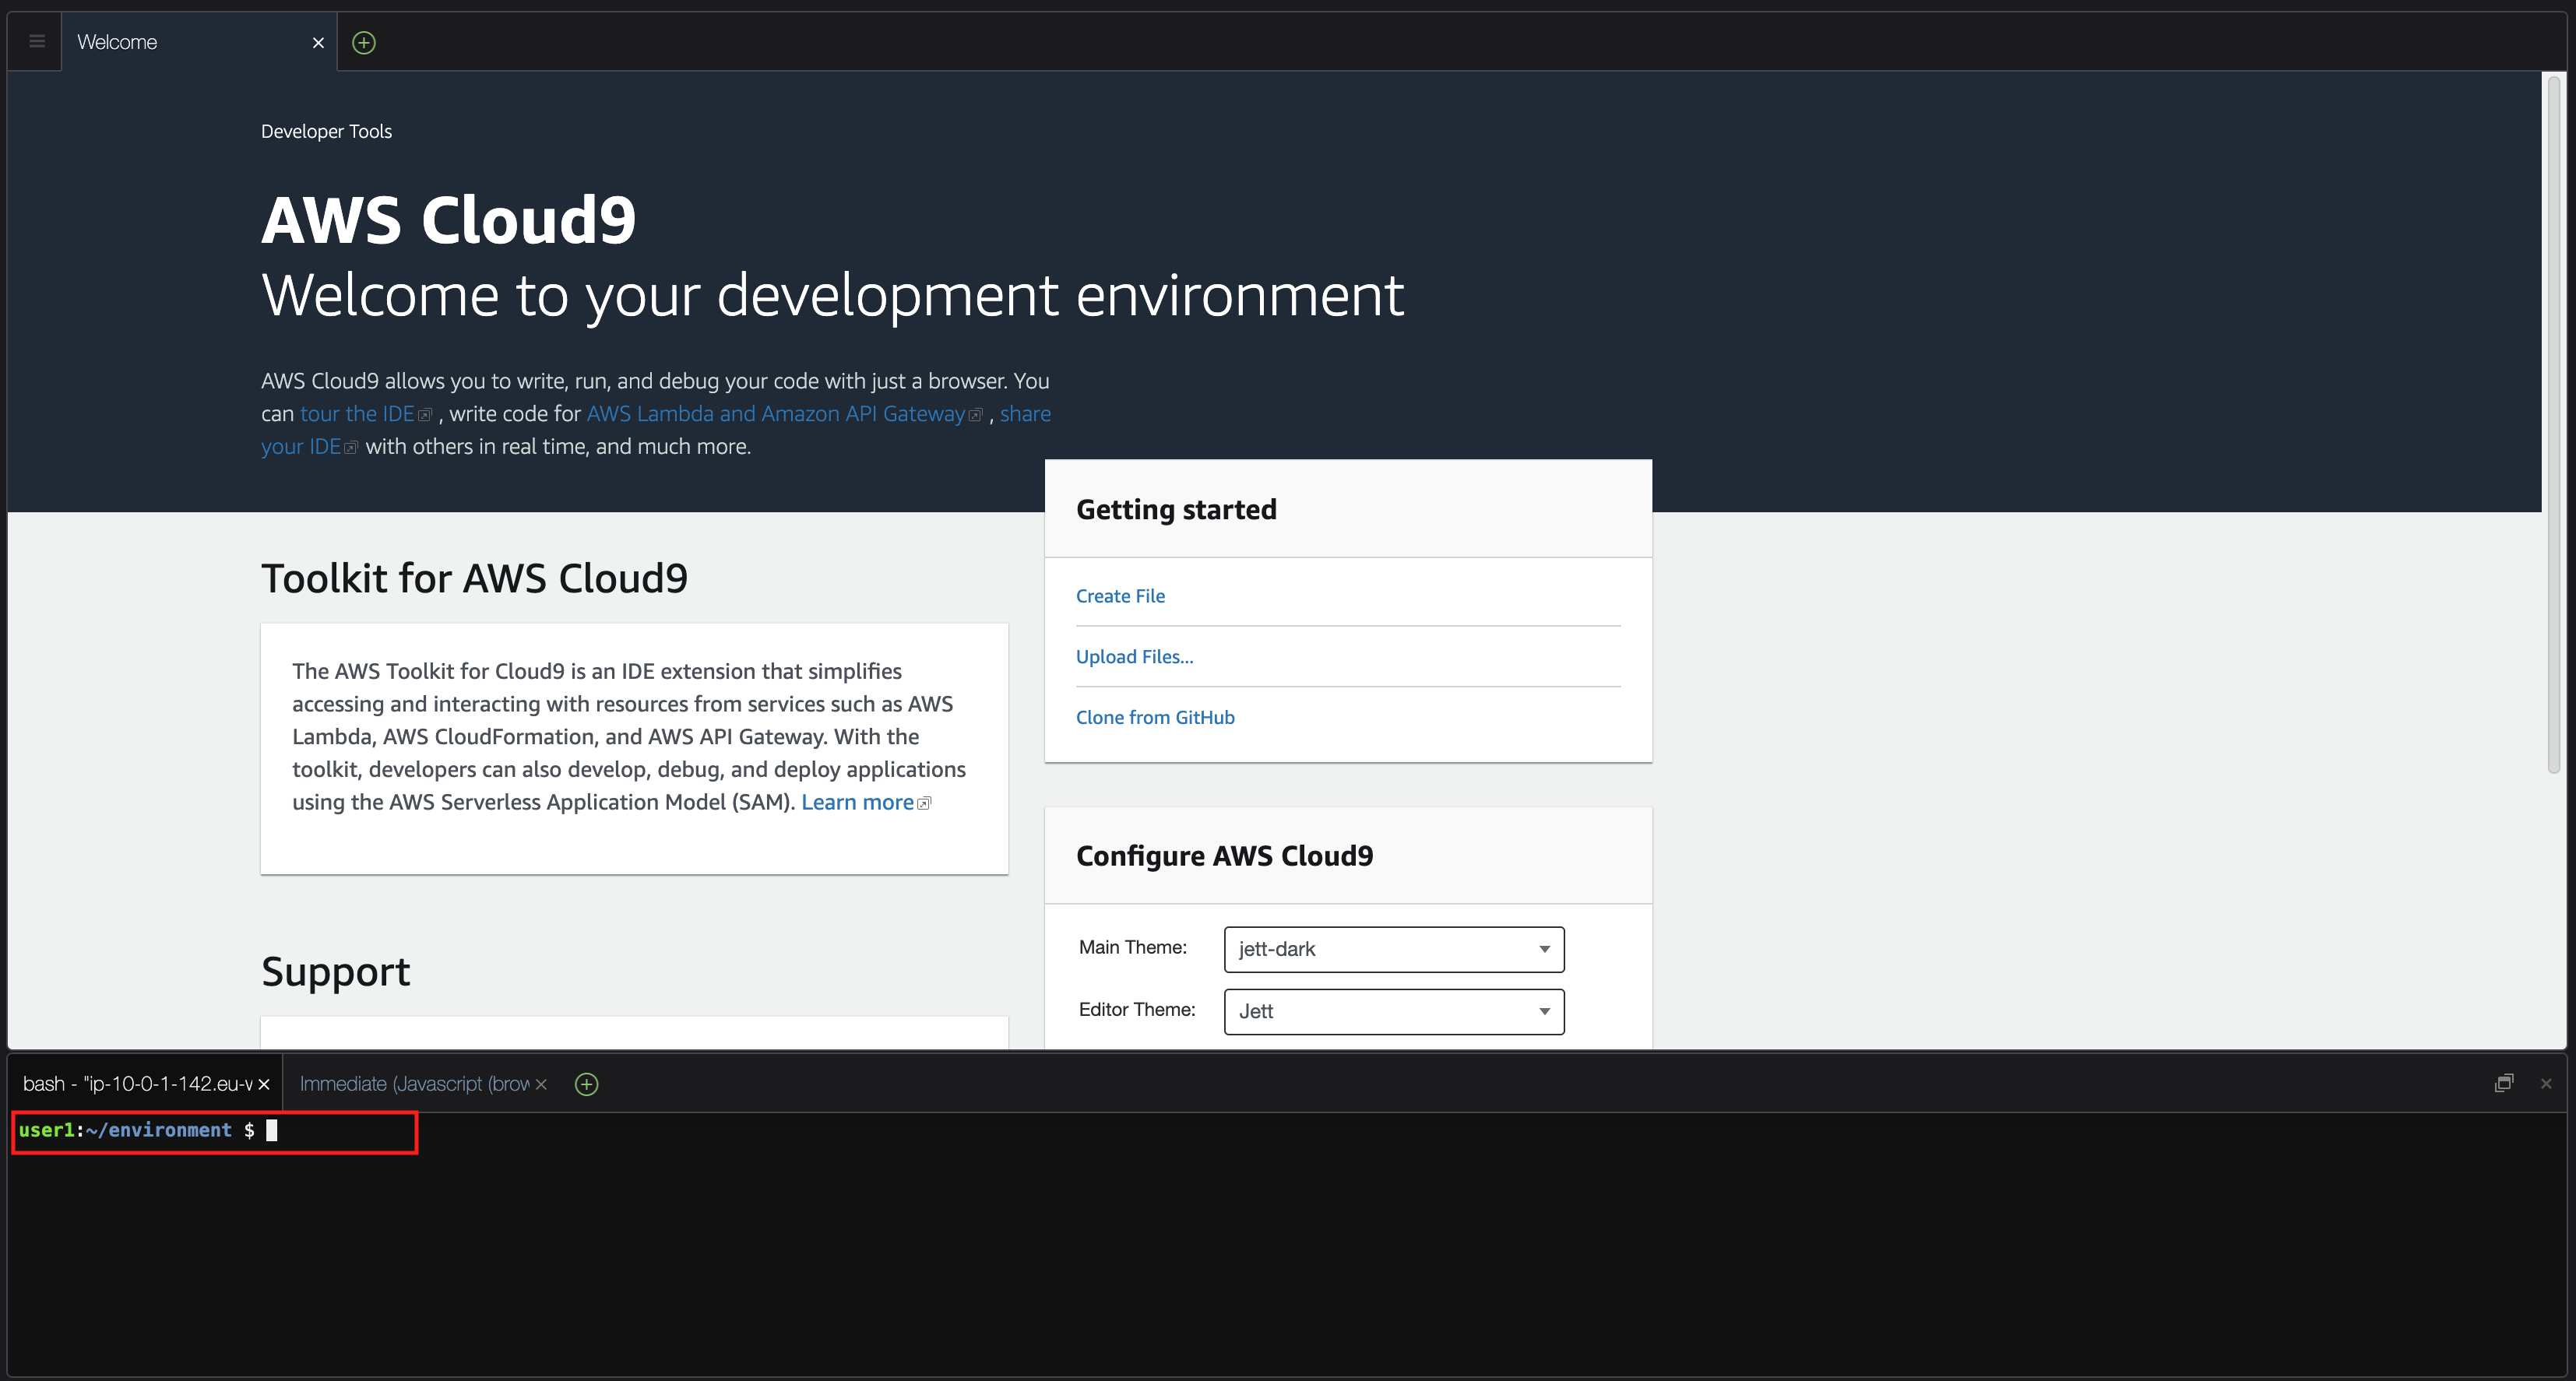
Click in the terminal under in the Cloud9 IDE window as shown below:
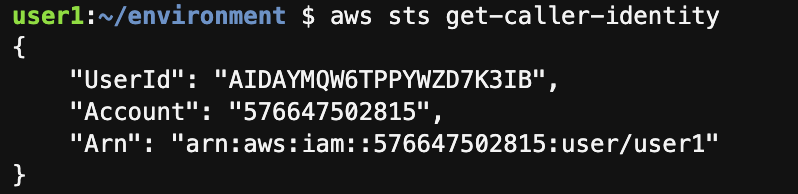
- In the terminal run the GetCallerIdentity command to confirm that Cloud9 IDE is using the assigned role.
aws sts get-caller-identity
-
To exit the output of the aws sts get-caller-identity command when viewing in a terminal, simply press Q.
-
Download the workshop repo.
git clone https://github.com/parsectix/parsectix-chatbot-workshop.git
cd ~/environment/parsectix-chatbot-workshop
When bootstrapping the IDE there are preinstalled tools such as:
jq
aws cli
docker
git
- The following variables will be required in order to proceed with the workshop. Run the following in the terminal:
export AWS_REGION="us-east-1"
export AWS_ACCOUNT_ID=695227717945 # Currently on parsectix POC
export AWS_PAGER=""
export WORKSPACE=$C9_PROJECT # This is the value we pass during creation
- Run the following command to see the check an environment variable:
env | grep -i workspace
You should now see your current workspace.
- Resize cloud9 instance volume
./resize-cloud9-volume.sh
In case a new terminal tab is opened in Cloud9 the environment variables must be exported again.